It can often be hard to get started with a new ritual or healing practice, and crystal grids are no exception. You may feel you need to learn everything there is to know before you get started but really crystal grids should be about using your own intuition, so there is no reason not to just dive in.
To help you get rolling here is my easy step-by-step guide on how to make a crystal grid.
What are crystal grids?
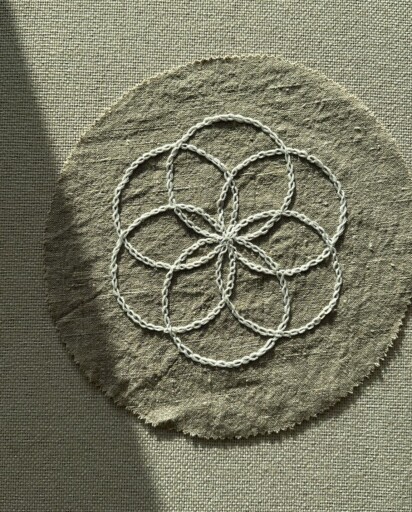
Crystal grids are a group of crystals arranged in a sacred geometry shape. The crystals are then activated with an intention setting to enable manifestation. They can have a particular purpose such as for good fortune and love or are intuitively chosen.

Step 1: Preparing for Your Crystal Grid
INTENTIONS // First think about what intentions you wish to set and manifest with the crystal grid. What message or request do you want to send out into the universe?
SACRED SPACE // Find a good place to create your crystal grid. Make sure you have enough space to work in and that you can leave your grid there undisturbed for a few days/weeks if necessary. You could cleanse the space with White Sage or use Palo Santo to confer blessings.
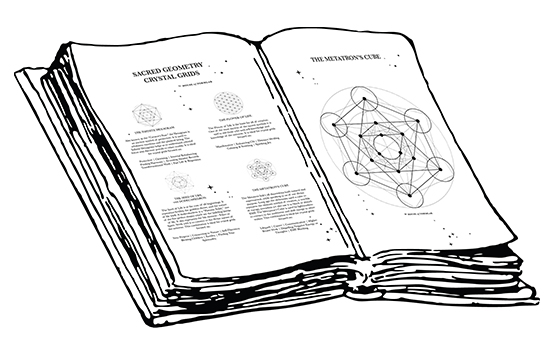
SACRED GEOMETRY SHAPE // Choose a sacred geometry shape that speaks to you. For crystal grid beginners it may be best to start off with a simple pattern. You can use a grid board, draw the shape yourself, use a sacred geometry mat or print out a sacred geometry shape. I have made a pdf with my favourite sacred geometry shapes which you can print yourself >>
Step 2: Choosing Your Crystals for Your Crystal Grid
You will need to choose your crystals based on the intention of the crystal grid. It is a good idea to cleanse the crystals you will use with moonlight, Selenite or water before you use them.
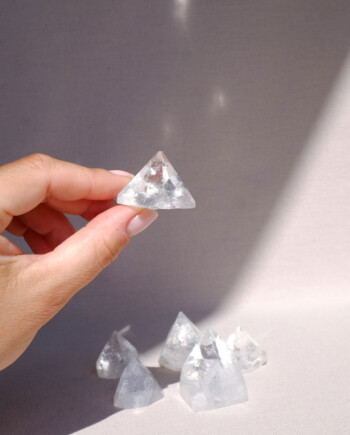
THE KEYSTONE // The centre stone of a crystal grid is called the ”Keystone.” This is usually the highest vibration crystal and is used to channel life force (Qi) into a grid as well as to send your intentions and requests out into the universe. A Quartz based crystal is an excellent option for this with its high vibe energy. You can use any stone you choose but something with a point is usually considered the best as an antenna for sending messages, such as a pyramid, point, or tower. You can also use a sphere for grids where you would like it to emit intentions in 360 degrees to fill a space. But really any shape crystal can be used.
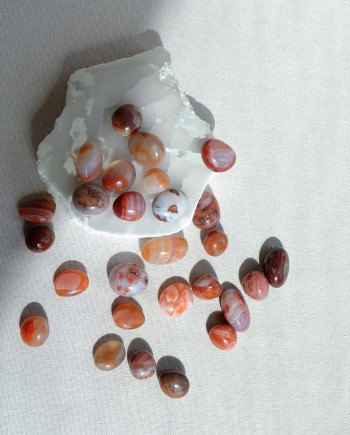
THE ANCHORS // The surrounding stones are called “Anchor Stones” and should help to amplify your grid as well as stabilizing and focusing its energy. These could be crystals with a similar metaphysical meaning to the intention or request you are trying to make or simply powerhouse crystals to supercharge your grid. These surrounding crystals also broadcast your message to the universe. You will need these crystals in multiples of 3 depending on your grid e.g. 3, 6, 12.
Here are some easy examples of crystal grid sets you could use:
Money Luck Crystal Grid
1 Clear Quartz Point Keystone
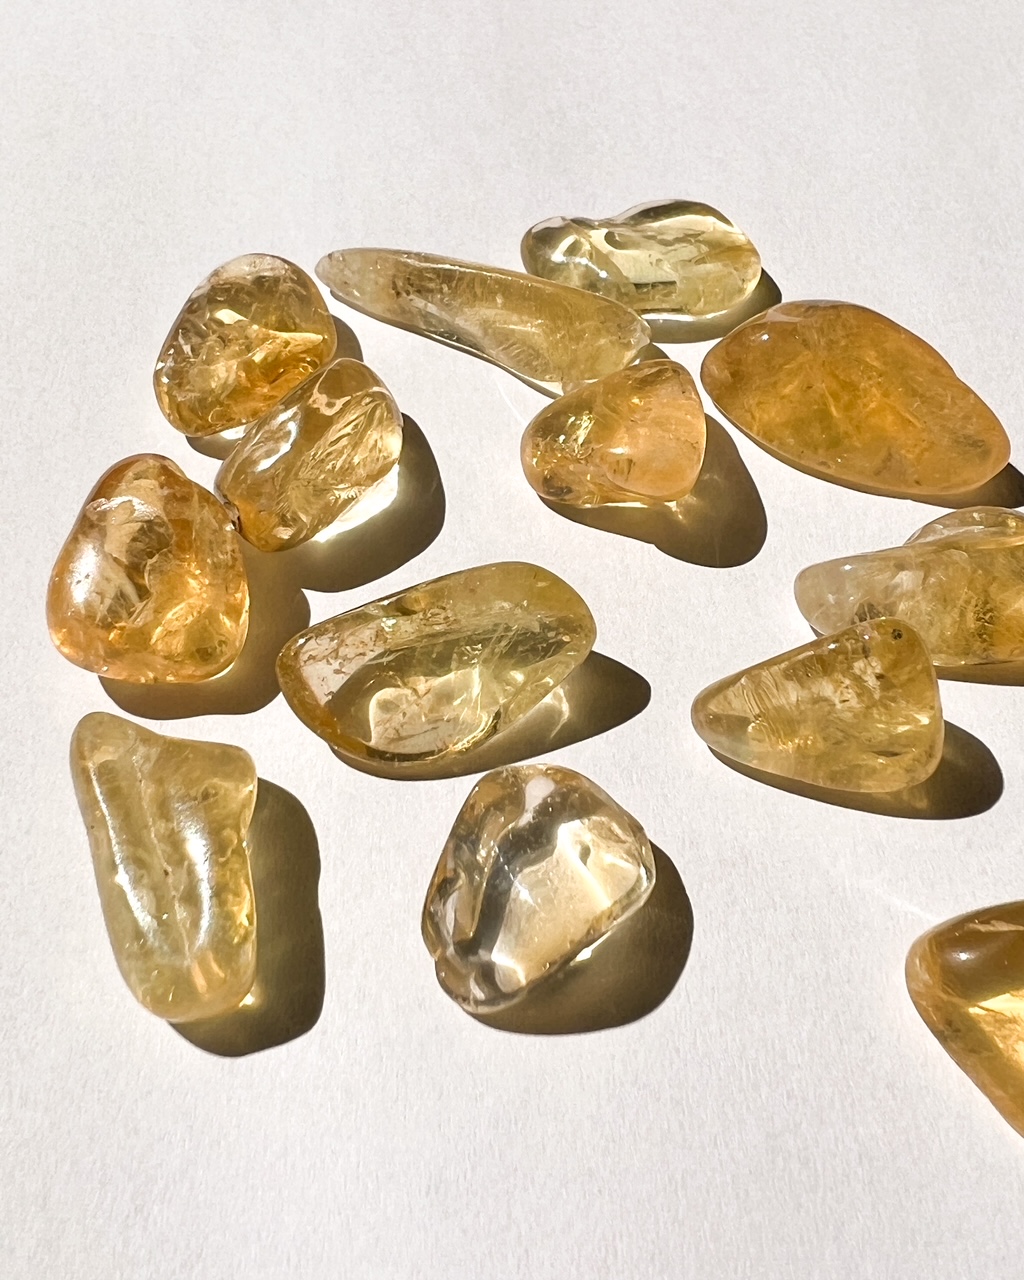
6 Natural Citrine
6 Aventurine
6 Lazer Quartz
Love Crystal Grid
1 Rose Quartz Sphere Keystone
6 Rose Quartz
6 Rhodochrosite (or Rhodonite)
12 Tiger’s Eye
Protection Crystal Grid
1 Smoky Quartz Tower Keystone
6 Black Tourmaline
6 Black Obsidian
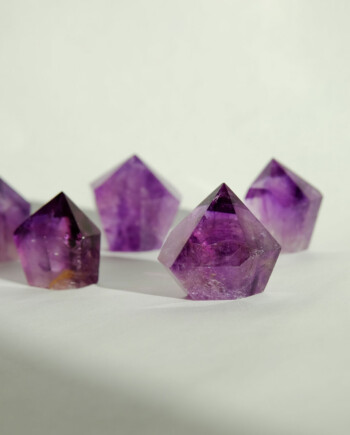
6 Chevron “Dream” Amethyst
Full Moon Crystal Grid
1 Selenite Sphere Keystone
6 Labradorite
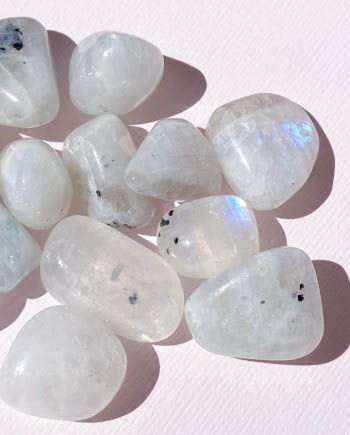
6 Moonstone
6 Clear Quartz
THE ACTIVATOR /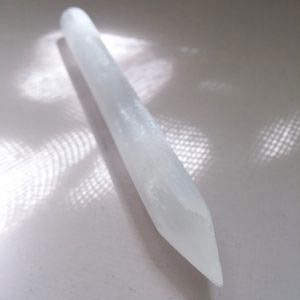 /
/
In order to activate the crystal grid you will need a metaphysical “tool” to activate your crystal grid.
This can be a crystal wand like my Selenite Pencil Wand, a pendulum or even your hand as you channel energy and intention.
Step 3: Laying out your Crystal Grid
Now that you have all of your crystal grid elements to hand you are ready to begin creating your grid.
Place your sacred geometry shape in your sacred space.
Hold your crystals and set your intentions upon them and ask them for their help.
Start by placing your “Keystone” crystal in the centre of the grid.
Then in a sequence of crystal type, starting near the centre, begin placing your “Anchor” crystals onto the grid.
Step 4: Activate your Crystal Grid
To activate your crystal grid make sure you have your intentions for this grid held clearly in your mind. Take your chosen “Activator” tool such as a wand or finger, and touch it to the “Keystone.” Then touch it to each crystal in the grid following the connecting lines in the grid. The final touch should be back to the “Keystone” crystal. An alternative method is to touch the wand to the Keystone and then to an Anchor crystal, back to the Keystone, and so on.
Step 5: Saying Goodbye to Your Crystal Grid
When you feel that the crystal grid has served you, it’s time to disassemble your crystal grid. Start by saying thank you to the crystals for their service. Remove the crystals one at a time from the crystal grid. You can then cleanse your crystals with Selenite in the light of the moon, water or with some Florida Water. Don’t forget to cleanse the space itself once you are done so that the energy that has built up in that area can dissipate. You can use White Sage, incense or any other sacred plants to do this.
I hope that you feel empowered to head off and create your own crystal grids! It should be fun and intuitive so go create what brings you joy and makes you feel connected to the universe. I would love to see them, so if you post on social – tag me @house_of_formlab so I can see your magick creations.
With love and crystal blessings,

House of Formlab
CRYSTAL GRIDS COLLECTION
-
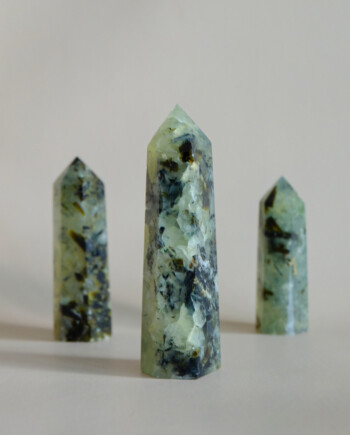
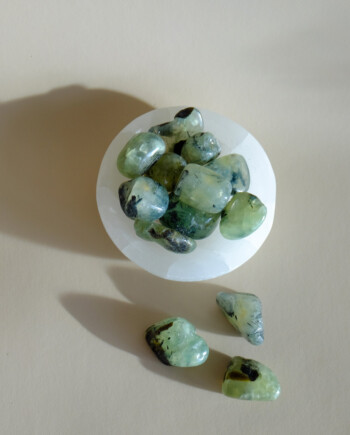
Prehnite with Epidote Towers
€19.99 -
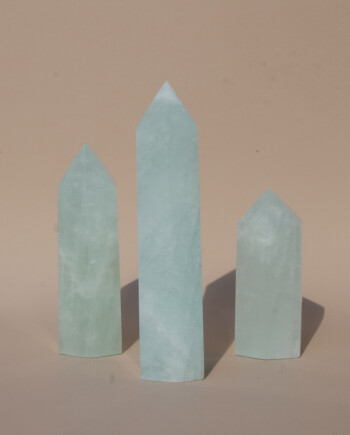
Aquamarine Towers
€39.99 -
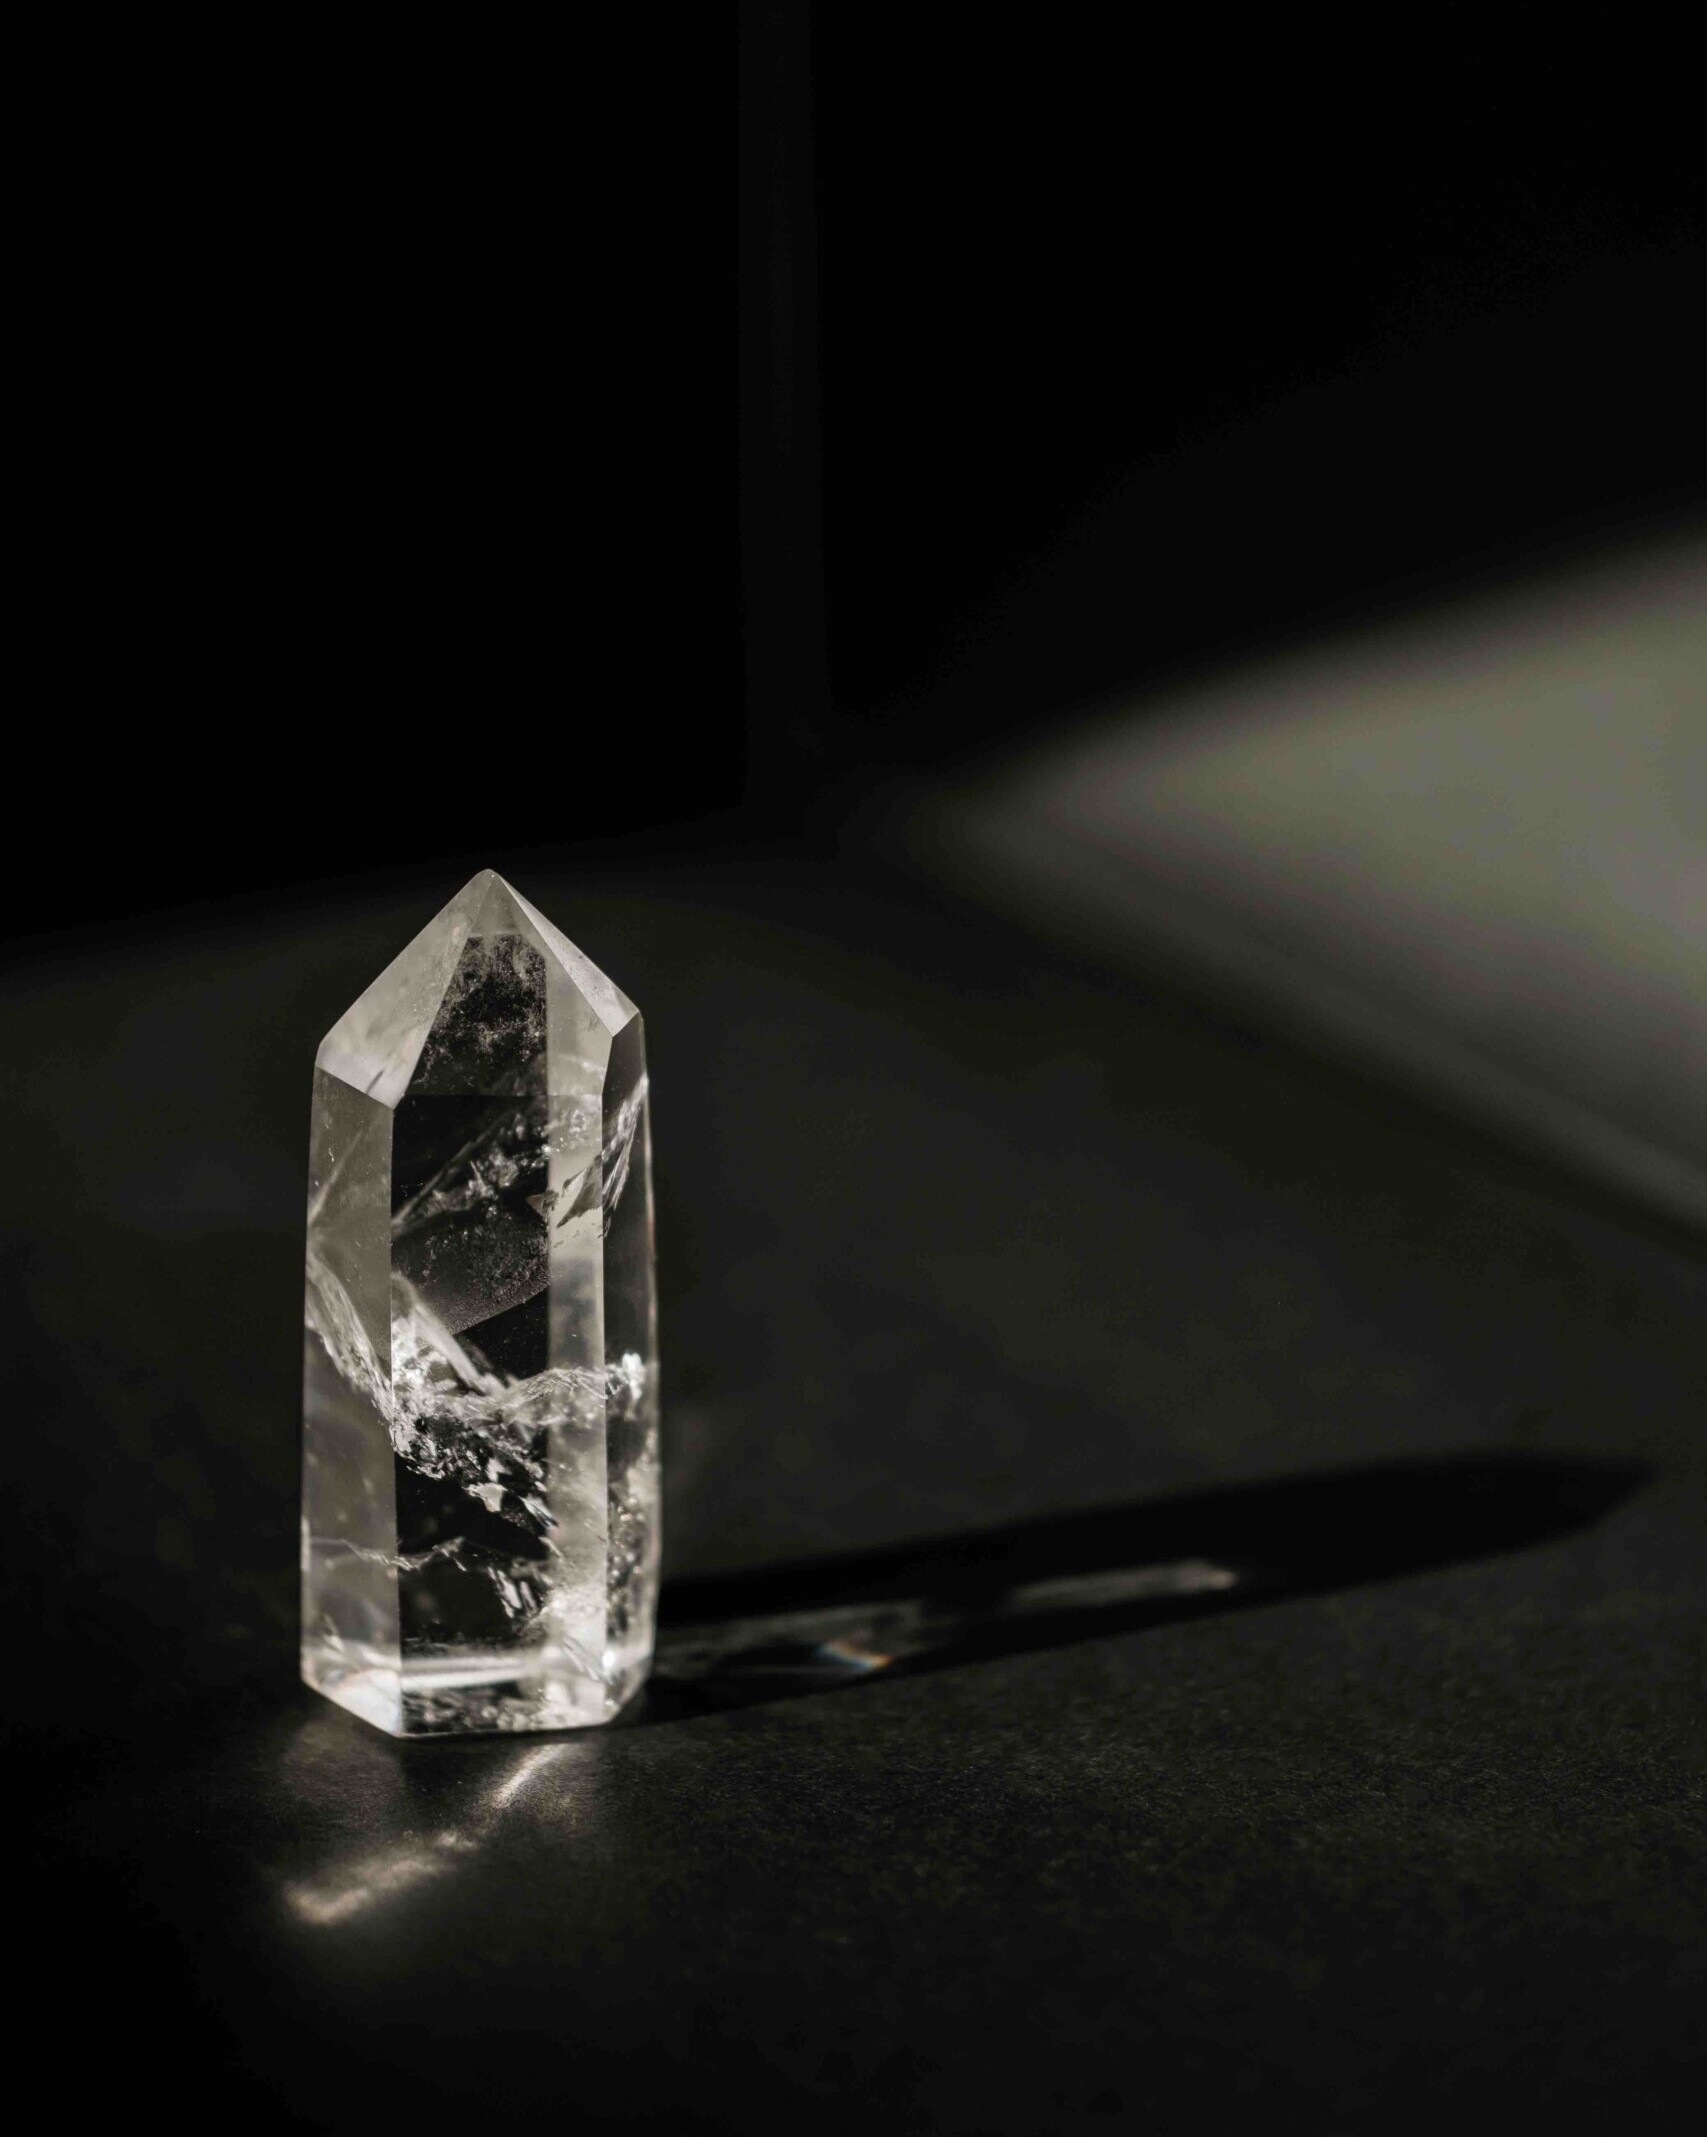
Clear Quartz Points // for Crystal Grids
€12.99 -
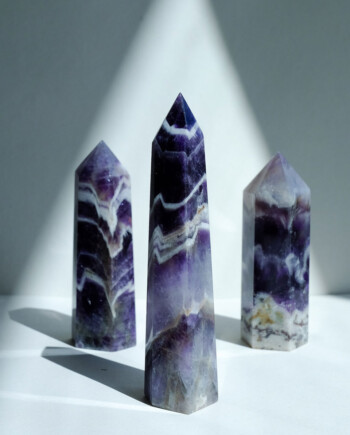
Chevron “Dream” Amethyst Towers
€19.99 -
Leopard Skin Jasper Pocket Stones
€2.99 -
Opal Aura Quartz Points
€14.99 -
Juicy AF Amethyst Points
€11.99 -
Prehnite with Epidote Pocket / Bra Stone
€3.99 -
Rainbow Moonstone Pocket Stones
€5.99 -
Citrine Pocket / Bra Stones for abundance
€4.99 -
Carnelian Little Bundles of Joy
€1.99 -
Angelic Apophyllite Points
€19.99 – €24.99 -
The Manifest-That-Sh*t Stone – Ruby in Kyanite
€3.99


Jan
Hello Sacred Friend,
Thank you, so very much for your help and support. I desperately needed the information and the crystal power grids, as instruments on my journey to learning how to manifest, using crystal grids.
I will report my experiences, once I begin the work, starting today. I am so excited! Thanks a million bunches!